Unbounce Conversion Tracking: The Ultimate Guide
In this all-encompassing guide, we’ll walk through how to set up Unbounce Conversion Tracking, look into advanced use cases and explore how to go further than out-the-box scenarios.
By the end of this post, you’ll be well-equipped to unlock the full potential of Unbounce Conversion Tracking and make your marketing efforts more precisely measured and effective than ever before.
As a CRO-focused landing page builder, conversion tracking is core to Unbounce – and it allows you to track and measure the success of your landing pages and analyze the performance of your campaigns.
Unbounce Conversion Tracking works by tracking user actions on your landing pages, such as form submissions, button clicks, or page visits. By understanding how users interact with your pages, you can make informed decisions about how to optimize your campaigns for better results.
Unbounce conversions also power the tool’s split testing capabilities, letting you compare the success of different landing page variations.
Table of Contents
Terminology: what is a “conversion” in Unbounce, anyway?
A conversion when a specific action occurs, taken by a visitor on your landing page that aligns with your marketing objectives.
This action can vary depending on your campaign goals, ranging from signing up for a newsletter, downloading a resource, registering for a webinar, or making a purchase.
Most Unbounce users will consider a form-fill (a user filling in a form) to be a conversion, but some may wish to fire a conversion when a user reaches a certain page.
An “Unbounce conversion” is distinct from the concept of tracking a conversion in a third party tool, like Google Ads or Facebook – although we will cover this later in the guide.
“Unbounce conversions” are therefore different from the idea of firing an external conversion tag, which we will also explore later on in this guide.
Why use Unbounce Conversion Tracking?
There are several reasons why you should consider using Unbounce Conversion Tracking for your marketing campaigns:
- Optimize your landing pages for better performance: By tracking user actions on your landing pages, you can identify areas where your pages are underperforming and make improvements to increase conversions.
- Gain valuable insights into user behavior: Unbounce Conversion Tracking provides data on how users interact with your landing pages, giving you insights into their preferences and behavior.
- Measure which campaigns are working working: Conversion tracking lets you to measure the success of your campaigns with actual numbers, so you can make data-backed decisions about how to allocate your marketing budget.
- Improve your return on investment (ROI): By optimizing your campaigns and landing pages for better conversion rates, you can improve your ROI and generate more revenue for your business.
Tracking conversions when users fill in your form: a step-by-step guide
In the Classic builder, here’s how to log conversions when a user fills in your form:
- Log in to your Unbounce account: Log in to your Unbounce account and navigate to the landing page you want to track conversions for. Hit “edit” on the variant you’re interested in.
- Ensure form submission is selected: With no elements selected, choose the “Goal” tab in the top-right corner of the page. Check the “Form Submission” box.
- Save your changes: Hit save and republish your page.
If you’re using Smart builder, the steps are slightly different:
- Log into Unbounce: Log in to Unbounce and choose the landing page you want to track conversions for. Open it in the Smart Builder.
- Head to the Conversions tab: Click on the Conversions tab located on the left-hand side. A new panel will appear.
- View the list of available conversion goals: A list of potential conversion goals is displayed. By default, your landing page already tracks a conversion goal based on either a form submission or a link.
- Select the desired action as a conversion goal: To track a different action (e.g., form submission, link click) as a conversion goal, tick the box next to the relevant element.
- Save the changes: Don’t forget to save your page!
Tracking conversions when users view an external page (External tracking): a step-by-step guide
Sometimes, you may wish to track an Unbounce conversion when the user does something outside of Unbounce.
For example, perhaps you’re sending traffic to an appointment booking tool, or you just prefer to keep all of your conversion pixels in one place on an external “thank you” page:

Here’s how to track conversions in Unbounce even if they take place elsewhere:
- Open your page in the Classic Builder: Access your desired page using the Classic Builder.
- Choose Goals: Click on the Goals tab and locate the Conversion Goals area.
- Deselect everything: Remove all the goals from the list. By disabling all Conversion Goals on your Unbounce page, only visits to the external confirmation page will be counted as conversions.
- Save your changes: Save the changes and apply changes to all page variants (if multiple variants are present). Don’t forget to republish!
Finally, go to the external page where visitors will arrive after completing the conversion action. Edit the page and insert the following script, placing it before the closing <body> tag:
<script type="text/javascript"> var _ubaq = _ubaq || []; _ubaq.push(['trackGoal', 'convert']); (function() { var ub_script = document.createElement('script'); ub_script.type = 'text/javascript'; ub_script.src = ('https:' == document.location.protocol ? 'https://' : 'http://') + 'd3pkntwtp2ukl5.cloudfront.net/uba.js'; var s = document.getElementsByTagName('script')[0]; s.parentNode.insertBefore(ub_script, s); }) (); </script>Firing an external conversion tag
Voila! Now, whenever this code is fired on the external page, it’ll be counted as a conversion in Unbounce!
We’ve already covered how to fire Unbounce conversions and see your Unbounce conversions increment each time a user does a certain action – but what if you keep ad networks up to date?
Assuming you want to fire the conversion tag when a user completes your form, here’s how:
- Grab your conversion code: Your ad network or third party should have supplied you with some JavaScript to fire when a conversion event takes place. If not, we have plenty of guides to the ad networks on our blog.
- Set up a thank-you page in Unbounce: We recommend creating a “thank you” page in Unbounce that provides a little bit of information on what the user can expect next. Conveniently, this is also where we’ll add our conversion tag later on! Don’t forget to save and publish this page.
- Set your form to redirect to your new thank-you page: In the Unbounce landing page builder, select your form and look for “Form properties” in the right-hand panel. Under “confirmation”, choose “Go to URL”, and enter the URL of the thank-you page you created in step 2.
- Add your conversion code to your thank-you page:
- Navigate to your thank-you page in Unbounce
- In the lower-left corner of the builder, click on “Javascripts”. Click on “Add a New Javascript” and paste the conversion tracking code into the “Contents” field.
- Set the contents to “head” and give the script a descriptive name.
- Click “Save code”, and republish the page.
That’s it – you’re now firing an external conversion tag whenever a user visits your thank-you page!
If you’re using a “lightbox” to thank users for filling in your form, the concept is exactly the same, and you can easily add the conversion tracking code to the lightbox using the same instructions above.
How to test Unbounce conversion tracking
Here are some steps you can follow to test your Unbounce Conversion Tracking:
- Perform a test conversion: Visit your landing page and complete a conversion action, such as submitting a form or clicking a button. Make sure you’re using a different device or browser than the one you used to set up the tracking, as Unbounce may not track conversions if you’re logged in.
- Check your Unbounce dashboard: After completing the test conversion, go to your Unbounce dashboard and check the “Conversions” column to ensure that your conversion has been tracked. Wait 30 seconds or so!
- Analyze your conversion data: Review the conversion data in your Unbounce dashboard to make sure it aligns with your expectations. If you notice any discrepancies, you may need to troubleshoot your conversion tracking setup.
Troubleshooting Unbounce Conversion Tracking issues
If you run into any issues with conversion tracking, there are several steps you can take to find the problem:
- Check your tracking script: Make sure that the Unbounce Conversion Tracking script has been added to your landing page correctly, and that there are no errors in the script. If you’ve made any changes to the script, make sure to republish your landing page.
- Verify your conversion goals: Ensure that your conversion goals have been set up correctly in the Unbounce Conversion Tracking script settings. If you’ve made any changes to your conversion goals, make sure to republish your landing page.
- Check for script conflicts: If you’re using other tracking scripts or tools on your landing page, these may be causing conflicts with Unbounce Conversion Tracking. Try disabling other tracking scripts one by one to see if this resolves the issue.
- Contact Unbounce support: If you’re still experiencing issues with your Unbounce Conversion Tracking, you can reach out to Unbounce support for assistance.
Need an easier way to collect leads?
Whilst the native Unbounce/Hubspot integration is a great place to get started, there’s an even better way to elevate your lead generation game.
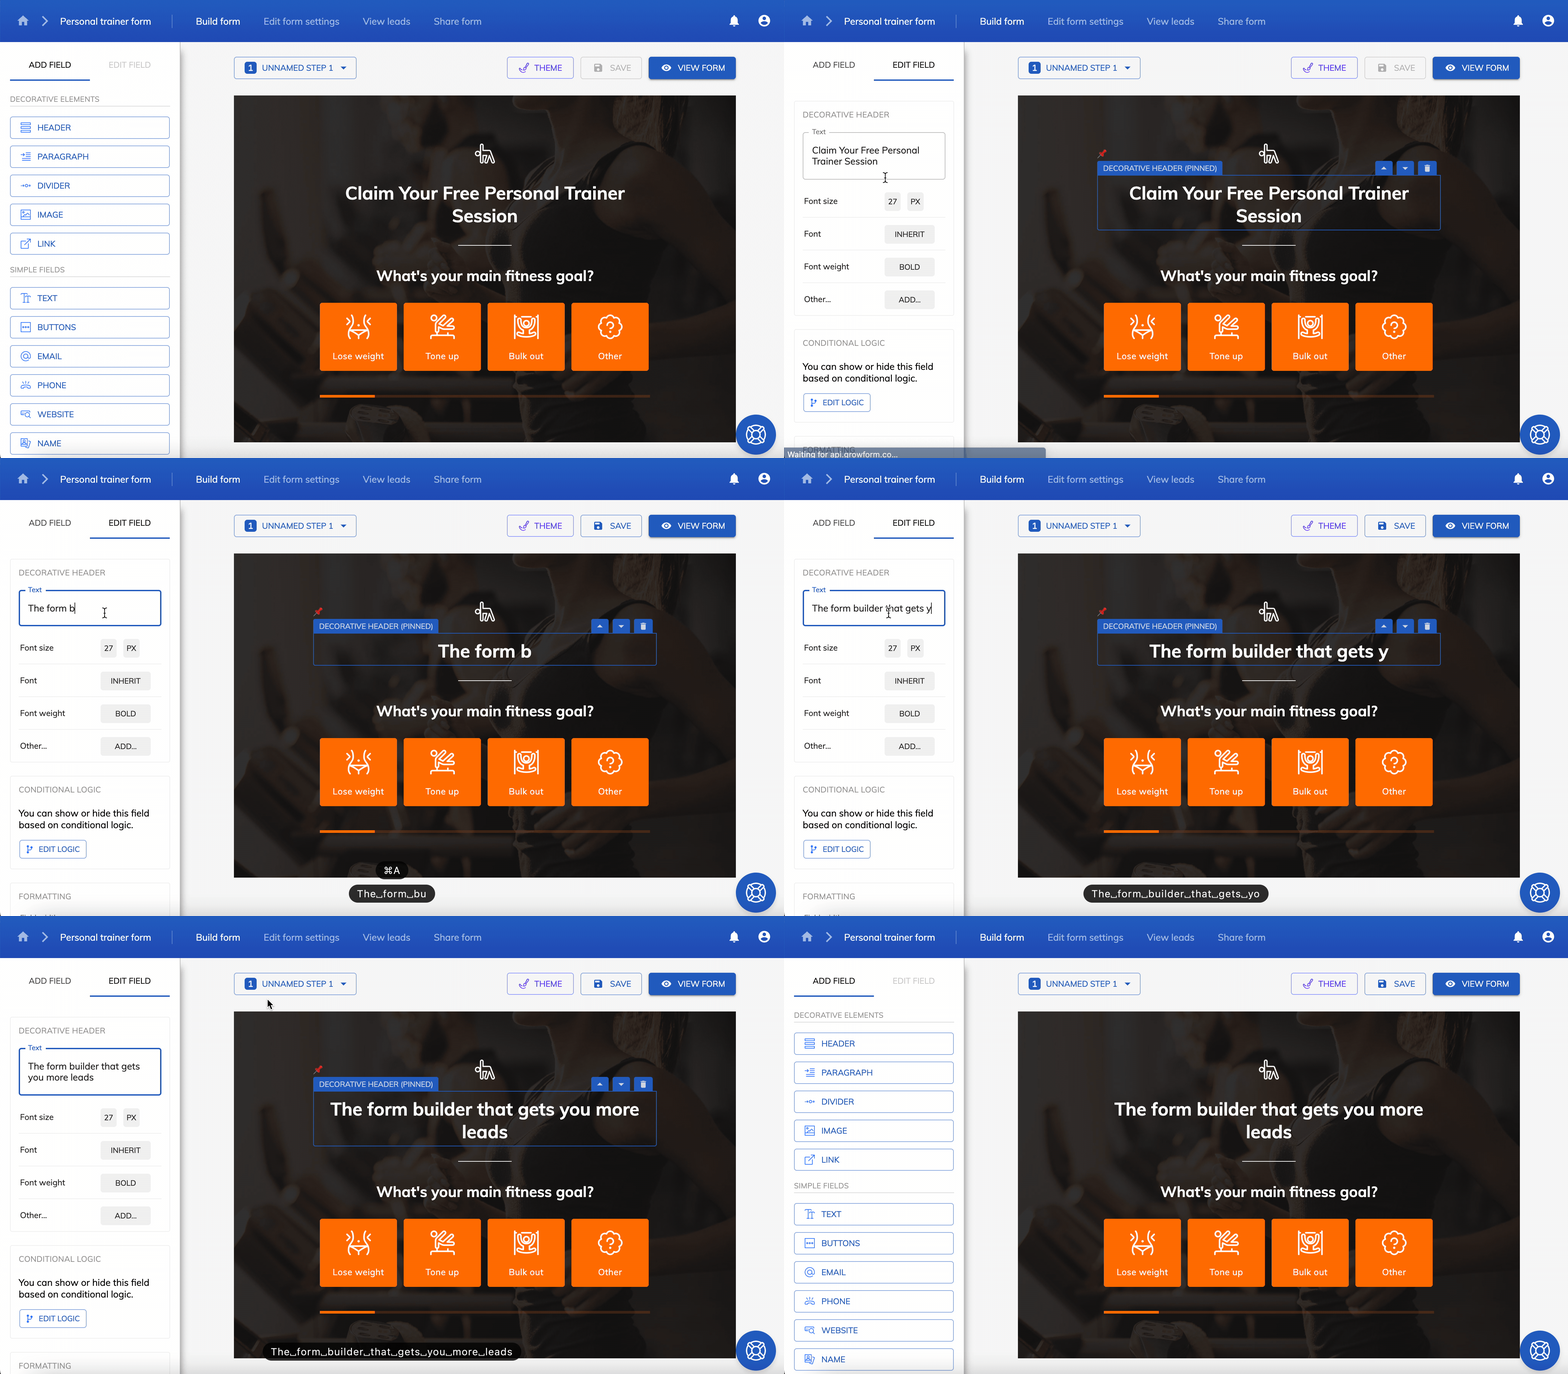
Enter Growform, the form builder designed specifically to increase conversion rates and supercharge your lead collection process:

With Growform, you can capitalize on advanced features like conditional logic and over 20 best-practice templates, ensuring you never miss a lead. And with seamless Zapier integration, you can effortlessly send your leads to virtually any platform – including Hubspot.
If you’re ready to try a better way to collect leads, go ahead and get started with a 14 day free trial.
Try this template: Travel agent lead generation form template
Related: 5 Powerful (Cheap) Unbounce Alternatives To Try In 2023
Recent Posts
- 6 Essential Mobile Form Design Best Practices for Higher Conversions
- We Review the Best B2B Lead Generation Tools to Supercharge Your Campaigns
- Typeform Pricing: Uncover Hidden Costs & a Better Alternative
- How to Optimize B2B Lead Scoring for Faster Sales Closures
- Here Are the Best Google Forms Alternatives for More Efficient Data Collection
