How to Create Beautiful Asana Forms Without Code
Asana is a powerful project management tool, widely known for its robust features and simple user interface. Many businesses rely on Asana’s forms – a straightforward method to collect data and funnel it directly into your projects.
However, a common question we frequently encounter is, “Can Asana create multi-step forms?”.
But as of May 2023, Asana does not support multi-step forms.
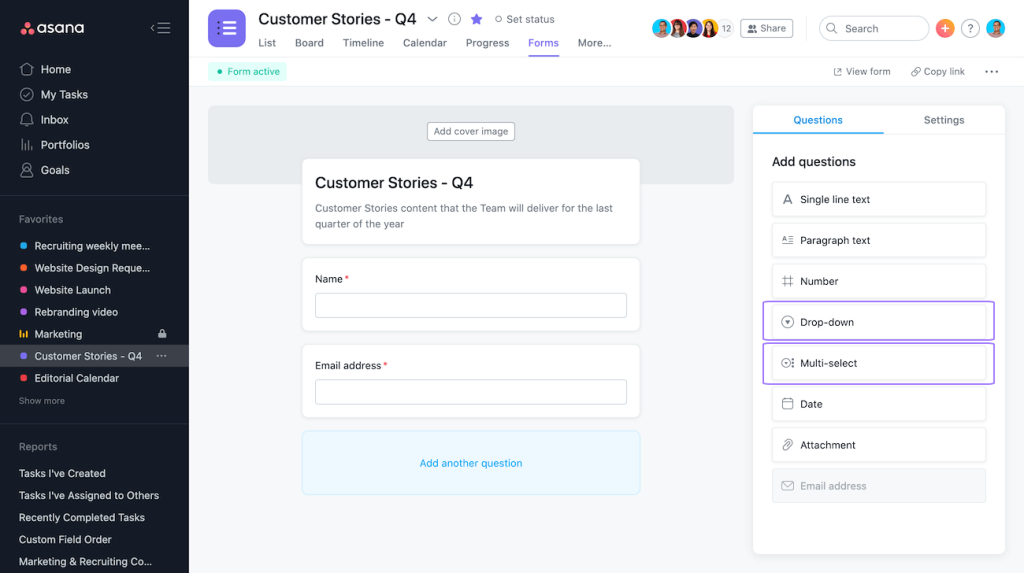
Users also report fairly limited styling/customisation options, limited conditional logic and a lack of field types for more complex data collection tasks.
However, there are a few ways to achieve multi-step request forms in Asana:
a.) Build a form within Asana and accept the inherent limitations (not necessarily recommended)
b.) Use Asana’s branching logic functionality to mimic a multi-step form to some extent, albeit without the smooth transition and intuitiveness of a real multi-step form (not ideal)
c.) Use a form builder like Growform to create a stunning, multi-step form and send the data directly to Asana (highly recommended).
It’s surprising, given the popularity and versatility of multi-step forms that Asana hasn’t included this in their form builder.
This Growform guide will show you how to create multi-step forms in Asana, overcoming its native limitations with third-party tools.
Let’s get started!
Table of Contents
Why Use a Multi-Step Form in The First Place?
Multi page forms offer a host of advantages over conventional one-page forms. Just some of the benefits are:
Better user interaction: Deconstructing a long form into small segments can make the process of filling the form feel less daunting for users. This method of form structuring will decrease the chances of users abandoning the form and boost the probability of form completion.
Better conversion rates: By making the form filling-process easier, forms with multiple steps record significantly superior conversion rates compared to single-step forms. Users are more inclined to initiate and finish a form if it doesn’t come across as intimidating on first blush.
Better data acquisition: Forms with multiple steps allow the collection of more nuanced information from users without swamping them. By dividing the form into distinct sections, users can provide more exhaustive data, which ultimately leads to more detailed leads.
Best Practices for Multi-Step Form Design
Here are the best practices for multi-step form design:
- Group Related Fields: Organize similar fields together to make the form feel more coherent and easier to follow.
- Provide a Clear Progress Bar: Display a visual indicator of how far the user is into the form, which motivates them to continue.
- Break the Form into Logical Sections: Segment the form into manageable steps to prevent overwhelming the user with too many questions at once.
- Avoid Long, Intimidating Pages: Ensure that each step feels short and concise to maintain user engagement and prevent abandonment.
- Maintain a Clean, Simple Design: Keep the form layout uncluttered to improve focus and make the process feel smooth.
Why Use a Form Builder Instead of Using Hacks And Workarounds?
Although using Asana’s branching logic might get you some of the way to a form that acts like a multi-step form, we have a better solution.
Growform was specifically designed to create multi-step forms, can be embedded directly into your website, and will funnel leads into your Asana projects seamlessly.
This form builder was crafted specifically to drive more form completions.
By using a third-party tool like this, you’ll still see data appear in Asana, but you’ll also enjoy all the benefits of a purpose-built form builder, including:
- Conditional logic: Use conditional or “jump” logic to display or hide fields or entire steps based on users’ responses. This helps make your forms more interactive and personalized, letting you construct compelling and high-converting experiences.
- More styling options: Asana’s forms don’t provide extensive customization options around fonts and colors, while third-party form builders like Growform do. With a visually appealing form that mirrors your brand, users are more likely to form a positive impression and start filling out your form.
- Progress bars: Including a progress bar in your multi-step form will give your users a sense of completion and maintain their engagement.
- Best-practices templates: Asana’s form builder allows you to build great forms from scratch, but it doesn’t yet offer a comprehensive templating system. Form builders like Growform offer 20+ templates for various industries, helping you adhere to multi-step form best practices right from the get-go.
The Benefits of Conditional Logic in Forms
Conditional logic is a powerful tool that significantly enhances the user experience in forms. By making forms more dynamic and interactive, it streamlines the data collection process and ensures that users are only presented with relevant questions. Here are its key benefits:
- Personalization: Fields or questions can appear based on previous responses, creating a tailored experience for each user.
- Reduced Frustration: Users aren’t overwhelmed by irrelevant or unnecessary questions, making the form feel simpler and more intuitive.
- Improved Data Quality: By displaying the right questions at the right time, conditional logic ensures more accurate, relevant data collection.
- Better User Engagement: Interactive forms with conditional logic are more engaging and help guide users through the process, reducing abandonment.
- Increased Conversion Rates: A more personalized and streamlined experience can lead to higher form completion rates, which directly impacts conversions.
Overall, conditional logic helps make forms smarter, more engaging, and more efficient, benefiting both users and the organization collecting the data.
Step-by-Step Guide to Create Asana Multi Step Forms with Growform
In this section, we will provide a step-by-step guide on how to create an Asana multi-step form with Growform.
By the end of the tutorial, you’ll have a beautiful form capable of conditional logic, progress bar and advanced styling options – with the leads collected being sent straight over to Asana as new tasks!
For this tutorial, we’ll assume you already have an Asana account.
Step 1: Sign up and create a new form
To get started, you will need to sign up for a Growform account.
Once you have created an account and logged in, you will be directed to the Growform dashboard. Now, hit “Create new form” and choose a template that suits you.
We’ll go for “None – start with a blank slate”:
Step 2: Edit your fields
With just a few clicks, we can delete any fields we don’t need and add any new fields that make sense:
Here’s how:
- Choose a field by clicking on it
- Delete a field by hitting the “delete” / “trash can” icon
- Add a field by choosing one from the left-hand side
- Edit a field by clicking it and editing the settings on the left
At the end of this step, we’ll have something like this:
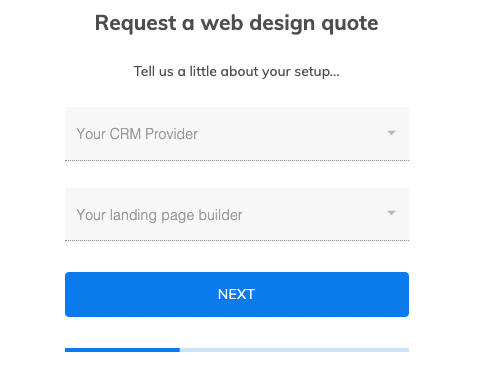
Step 3: Edit your theme settings
If the blue color scheme doesn’t suit your brand, it’s simple to edit the theme options to change things up a little:
Here’s how we did it:
- Hit “Theme” in the top right corner
- Adjust the default font, primary color and body text color to your choosing
After adding an image to the top of the form and adjusting the margins of each field a little, we can get to a lovely looking form like this:
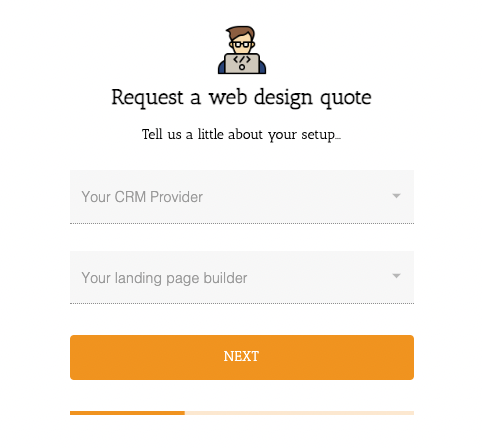
Regardless of your brand’s unique style guide, you should be able to create a form that is aesthetically pleasing and seamlessly integrates anywhere.
If you wish to add more steps, this can be done with the the step navigation dropdown situated in the top-left corner.
Don’t forget to hit “Save” once you’re done building!
Optimizing Your Form for Mobile Devices
Mobile optimization ensures your form is easy to use on any device. With a growing number of users accessing content via smartphones, forms must be responsive, quick-loading, and visually appealing across different screen sizes. It’s crucial to adjust field sizes, layout, and buttons to be touch-friendly for a seamless mobile experience.
Step 4: Embed the form in our website
Now we’ve built a basic form, we need to grab the embed code that’ll let us place it on our landing page or website.
First, let’s grab the embed code given to us by Growform. Still in the builder, navigate to “Share form” and open the first option.
Click inside the box and copy the embed code to your clipboard:
Great – we’ve copied the embed code. You’ll now need to paste it into your landing page or website builder’s custom HTML area.
Often, your landing page builder will provide a widget or tool that allows for “custom HTML” – just paste the code in there and save your changes.
There are more specific guides for each major landing page builder below:
Nice! We pasted the code into our WordPress site and now have a multi-step form!
If you don’t want to embed the form in your website, or if you’d rather simply share a link to the form, this is perfectly possible – there is a shareable link on the “Share form” page too.
Step 4: Fire off a test submission
Let’s fill our form in to make sure everything works OK:
This is an important step – it not only lets us see the form in action, but will allow Zapier to “see” an example lead when we configure the Asana “new task” integration in step 5.
Step 5: Send your leads to Asana as tasks
At this point, we’re most of the way there: our form is embedded in our website (or shared with a link) and is collecting leads. But the leads just stay in Growform…
Let’s fix that by sending our tasks over to Asana using Zapier.
Zapier is the “glue” that holds together Growform and thousands of integrations. If you don’t already have an account, you’ll be prompted to create one. It comes with a 14 day free trial, and allows for 100 leads per month with no need for a paid plan.
Once you’ve signed up or logged in to Zapier, open up your dashboard to connect the Growform app to Asana.
We’ll configure it so that on “New Form Submission“, it will “Create Task” in Asana:
Great! Once you’ve selected the right options, hit “Try it” to be taken to the Zap builder.
On the next screen, hit the first box on the page, and then “Sign in”. Follow the link to your Growform account, copy your API key, paste it into the box and save your changes:
Once you’ve added your API key, you should see a green tick next to “account” and your Growform account information in Zapier:
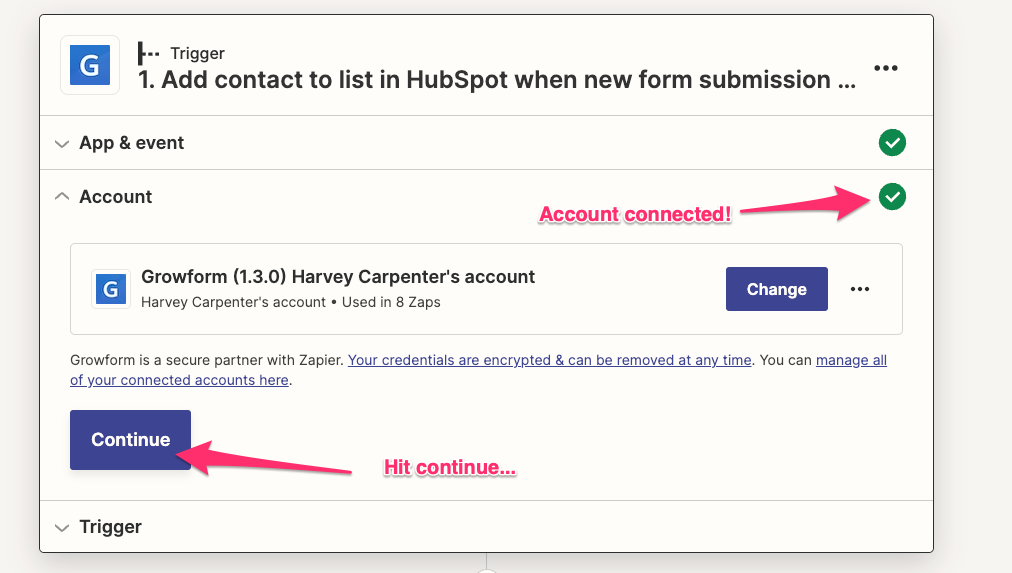
Hit “Continue” to move to the “Trigger” step.
At this point, simply select your form and hit “Test trigger”.
Zapier will now find the test form submission you submitted earlier – hit “Continue” to move to the next step.
(If you didn’t create a test submission in Growform, go ahead and do that now before hitting “Test trigger” again).
At this point, Zapier is connected to Growform – we just need to map the fields to Asana.
It only takes a moment to connect Zapier to Asana – under “Action”, just hit “Sign in” and approve the account access.
Now we’re connected to Asana, we just need to map the Growform fields to the Asana fields once we’ve chosen our workspace and project details.
For example, to add a user’s email address to a task, write the task name and/or details and use the Growform field to populate it:
Tip: Use “ctrl+f” (or the equivalent on your keyboard) to find the field you’re looking for – there are lots of Asana fields in the New Task zap!
Repeat this for each field you wish to populate, and then hit “Continue” to test your zap.
If the Asana task is created properly, you should see a response like this:
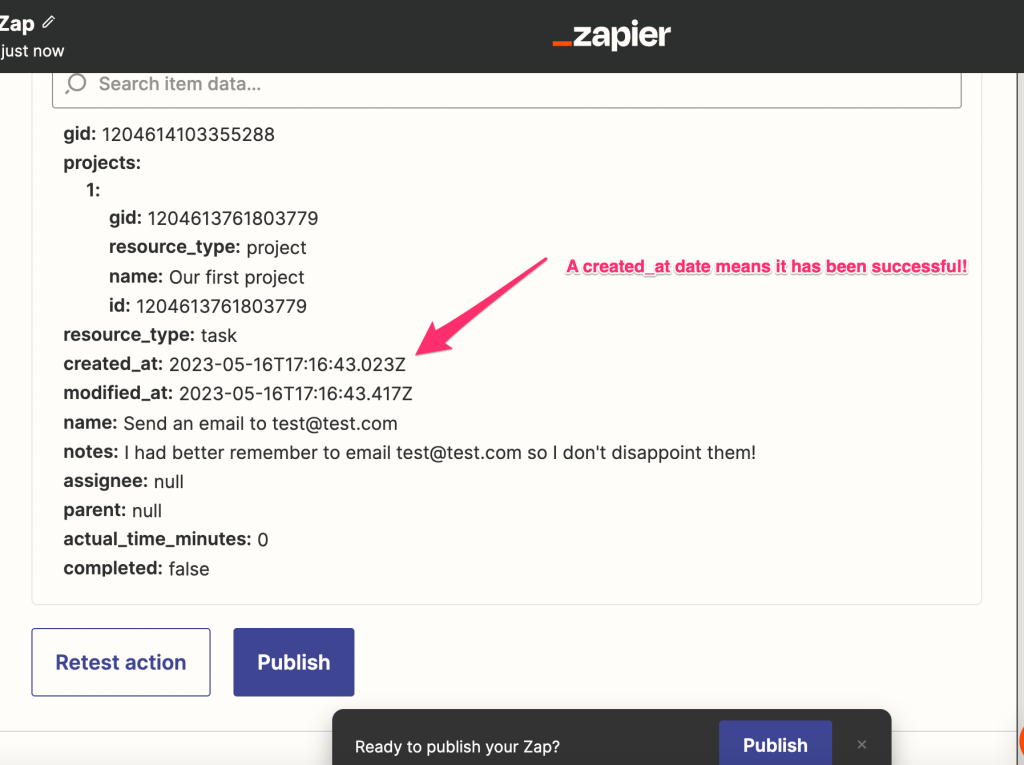
Once you’re happy with your integration, don’t forget to hit “Publish” to ensure it’s active.
You will then see your task created inside your Asana account:
That’s it – you’ve successfully created an Asana task with a multi step form!
Now, every time a new user fills in your form, it will create a task in Asana.
Limitations of Asana’s Native Forms
Asana’s native form builder, while functional for basic data collection, has several limitations that might hinder businesses seeking advanced form features. These include:
- Lack of Multi-Step Forms: Asana doesn’t support multi-step forms, which can be crucial for creating a smoother, less overwhelming experience for users.
- Limited Conditional Logic: The native forms offer basic conditional logic but lack the advanced features that allow for more dynamic and personalized forms, limiting user interactivity and engagement.
- Styling Constraints: Asana’s form builder has limited customization options for visual design, which restricts businesses from aligning forms with their brand aesthetic.
- User Experience: The simplicity of Asana’s forms can result in a less intuitive user experience, leading to lower engagement and potentially decreased form completion rates.
- Inflexibility for Complex Data Collection: For more detailed or complex data-gathering tasks, Asana’s forms may feel restrictive, as they do not support a wide range of field types or advanced form structures.
These limitations make Asana’s native forms less suitable for businesses looking for high-conversion forms or a more engaging and customized experience for users.
FAQs and Advanced Tips
How do I send form data over to Asana’s task custom fields?
Sending form data from Growform to Asana’s custom fields via Zapier is the same process as populating the email address as we did in the final step of the guide.
You’d simply create a custom field to go in your Asana tasks. Then, once you’ve added the field, go back to Zapier and hit “Refresh fields” under the action to see your new field there, and map it in the same way as before.
Is there a slight delay in receiving tasks?
Yes, there is likely to be a slight delay in receiving tasks. This is because on most plans, Zapier “polls” (asks us) to see if there are any new form fills every 15 minutes. You’ll receive most leads sooner, but could wait up to 15 minutes to receive a task. If you need this to be much faster, Zapier does have plans that allow for polling every 1 minute.
Is this a reliable way of receiving tasks in Asana?
Yes, this is a popular and rock-solid way of receiving tasks in Asana. Growform is a popular online form builder used by hundreds of businesses, and Zapier is the best-practices integration tool to connect the tools together. Once everything’s set up, it’s simple to edit the form and update the integration.
Conclusion & next steps
By following this guide, you’ve learned how to create an engaging multi-step form that seamlessly integrates with Asana. Using Growform to overcome the limitations of Asana’s native forms allows for enhanced customization, conditional logic, and smoother user experiences, leading to higher conversion rates.
Next, why not add more steps to your form, add some conditional logic, or adjust theme settings further to really make it your own?
If you haven’t already, you can start your 14 day free trial of Growform here.