Unbounce Webhooks: How to send leads anywhere with webhooks
Picture this: you have a steady flow of leads coming in from your marketing campaigns, but they’re all piling up in Unbounce.
What if you could automate the process and send those leads to any platform you choose, instantly?
Welcome to the world of Unbounce webhooks!
In this post, we’ll delve into how webhooks can enhance your lead distribution process, offering you plenty of flexibility and control.
We’ll walk through what webhooks are, how they integrate with Unbounce, and provide a step-by-step tutorial on setting them up. Get ready to unlock the full potential of your lead management!
Table of Contents
What is a webhook? (with examples)
A webhook is a simple yet powerful tool that allows you to send real-time updates from one application to another.
It works by sending an HTTP request, usually a POST request, to a specific URL when a particular event occurs. This URL, known as the webhook URL or endpoint, is where the receiving application listens for incoming requests and processes the data accordingly.
For example, let’s say you have a lead generation form on your Unbounce landing page. When a user submits the form, you want to send the lead data to your CRM system.

By using a webhook, you can automatically send this data from Unbounce to your CRM system without any manual intervention. Similarly, you can use webhooks to trigger email notifications, update your database, or even post messages on your team’s Slack channel whenever new leads are generated.
Benefits of using Unbounce webhooks
There are several benefits to using Unbounce webhooks for your lead generation process, including:
- Automation: Webhooks automate the process of sending lead data from your Unbounce landing pages to other applications, eliminating the need for manual data entry and saving you time.
- Real-time updates: Webhooks provide real-time updates, ensuring that your leads are sent to your desired applications as soon as they’re generated, enabling you to take immediate action.
- Flexibility: Unbounce webhooks can be integrated with a wide variety of applications, giving you the flexibility to choose the best tools for your business.
- Customization: Webhooks can be customized to send specific data or trigger specific actions, allowing you to tailor your integrations to your unique business needs.
- Improved efficiency: By streamlining your lead generation process, Unbounce webhooks help you make the most of your marketing efforts, ultimately improving your overall efficiency.
Webhooks vs Native integrations: What’s the difference?
When it comes to connecting Unbounce with your favorite third-party systems, you have two powerful options at your fingertips: webhooks and native integrations. But, which one should you choose?
Webhooks allow you to create bespoke connections between Unbounce and other systems. They work by sending an HTTP request containing data related to a specific event, like a form submission, to a specified URL.
This flexibility empowers you to connect Unbounce with virtually any tool that can receive and process HTTP requests. The primary advantage of webhooks is the unlimited possibilities they offer.
With webhooks, you’re not restricted to pre-built integrations, which means you can create custom connections with any service that supports webhooks.
Native integrations are pre-built connections between Unbounce and popular third-party tools. These integrations are designed to work seamlessly and usually require minimal setup.

The main benefit of native integrations is their ease of use. Since they’re pre-built, you don’t have to worry about any custom coding or configuration. All you need to do is select the desired integration from the list of available options, follow the simple setup instructions, and you’re good to go.
Furthermore, native integrations are maintained by Unbounce, ensuring that they remain compatible with the latest versions of the connected tools.
The choice between webhooks and native integrations depends on your specific needs and preferences. If you’re looking for a customizable and flexible solution, webhooks might be the way to go.
However, if you prefer a quick and easy setup with pre-built connections, native integrations could be the better option.
Getting a webhook destination URL
Before you can configure Unbounce to send a webhook each time a form is filled in, you’ll need to know where to send it!
Your CRM or third party system should provide what is known as an “endpoint destination URL” or “endpoint”. This is a URL that looks something like this: example.crm.com/webhook/new-lead.
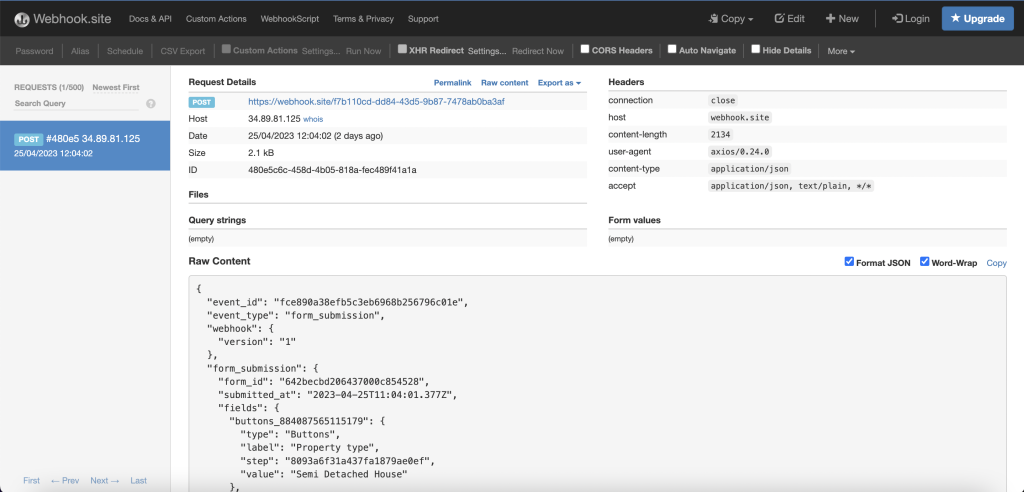
If you don’t yet have an endpoint but still wish to follow along, you can create a webhook destination URL at webhook.site, which will receive webhooks and show them on the screen.
Setting up Unbounce webhooks: Step-by-step guide
It’s easy to start firing webhooks each time you receive a lead in Unbounce.
Here’s a step-by-step guide to help you get started:
- Log in to your Unbounce account: Go to the Unbounce website (https://unbounce.com/) and sign in using your login credentials.
- Select your landing page: Find the landing page you want to add the webhook to and click on it to open the page overview.
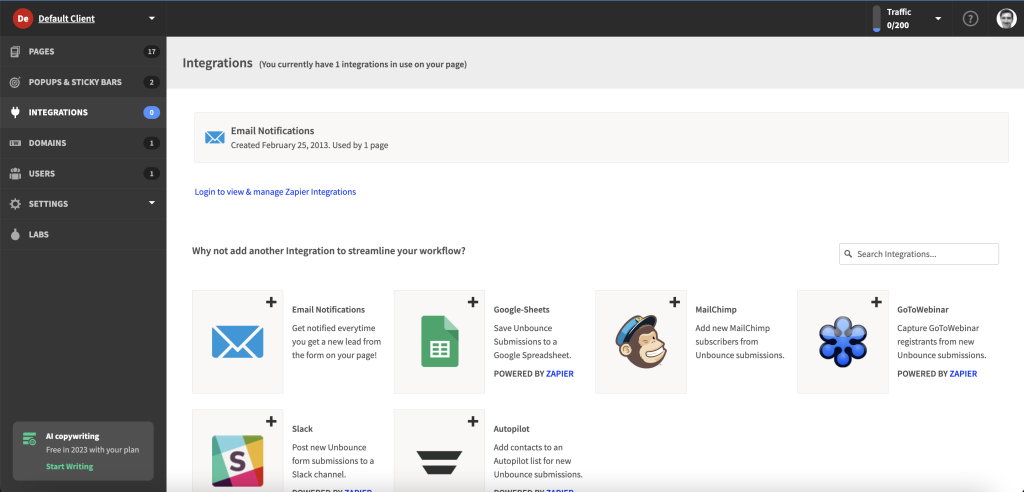
- Navigate to the integrations tab: From the page overview, click on the “Integrations” tab located at the top of the page.
- Add a new webhook: Choose the “Webhooks” tab and click on the “Add a Webhook” button.
- Configure your webhook: In the “Add a Webhook” dialog box, you’ll need to provide the following information:
- Webhook URL: Enter the URL where you want to send the lead information. This URL should belong to the application that will receive and process the data sent by Unbounce (e.g., your CRM system or email marketing tool).
- Map fields: This is where you can choose for fields to “map” to the correct field in your destination system. For example, a field might be called “first name” in Unbounce, but “firstName” in your CRM
- Save your webhook: After configuring your webhook, click the “Save Webhook” button to activate it. From this point on, Unbounce will send lead information to your specified webhook URL whenever someone submits a form on your landing page.
Troubleshooting common Unbounce webhook issues
Sometimes, you may encounter issues when setting up or using Unbounce webhooks. Here are some common issues and their solutions:
- Webhook not triggering: If your webhook is not triggering, ensure that you have selected the correct trigger event in the webhook settings, and double-check the webhook URL.
- Data not being sent or received correctly: If the data is not being sent or received correctly, verify the payload configuration in your Unbounce webhook settings and ensure that the receiving application is set up to process the incoming data correctly.
- Authentication issues: If you’re encountering authentication issues, ensure that you have the correct API key or credentials set up for the receiving application and that any necessary authentication headers are included in your webhook settings.
- Timeout or connection errors: If you’re experiencing timeout or connection errors, check the webhook URL for any typos or errors and ensure that the receiving application’s server is up and running.
If you’re still experiencing issues with your Unbounce webhook, consult the Unbounce documentation or reach out to their support team for assistance.
Tips for optimizing your Unbounce webhook setup
To get the most out of your Unbounce webhooks, consider the following tips for optimizing your setup:
- Use multiple webhooks: Use multiple webhooks to send your leads to different applications based on specific criteria, such as lead source or lead score, to ensure that your leads are processed and segmented efficiently.
- Customize the payload: Customize the payload to send only the data that is relevant to the receiving application, reducing the amount of unnecessary data being sent and improving the efficiency of your integrations.
- Monitor webhook performance: Regularly monitor the performance of your webhooks, such as response times and error rates, to identify any issues and optimize your setup for better performance.
- Secure your webhooks: Ensure that your webhooks are secured, either by using HTTPS or by implementing additional security measures, such as authentication or IP whitelisting, to protect your data and maintain the integrity of your integrations.
Third-party applications that support Unbounce webhooks
Numerous third-party applications support Unbounce webhooks, allowing you to easily integrate your landing pages with your marketing stack. Some popular applications that support Unbounce webhooks include:
- CRM systems: Salesforce, HubSpot, Zoho CRM, Pipedrive, and many more
- Email marketing platforms: Mailchimp, ActiveCampaign and others
- Marketing automation tools: Marketo, Eloqua, Infusionsoft and many more
- Project management tools: Trello, Asana and more
Even if the third-party application you have in mind doesn’t support webhooks, it’s possible to use tools like Zapier or Pabbly Connect to catch an incoming webhook and send the data pretty much anywhere.
That said, if you’re planning on using a tool like Zapier, it may be easier to just stick with the native Unbounce Zapier integration!
Introducing a better way to build forms on Unbounce
Unbounce webhooks are a great way to send leads anywhere, but you may find yourself a little limited by the standard form builder.
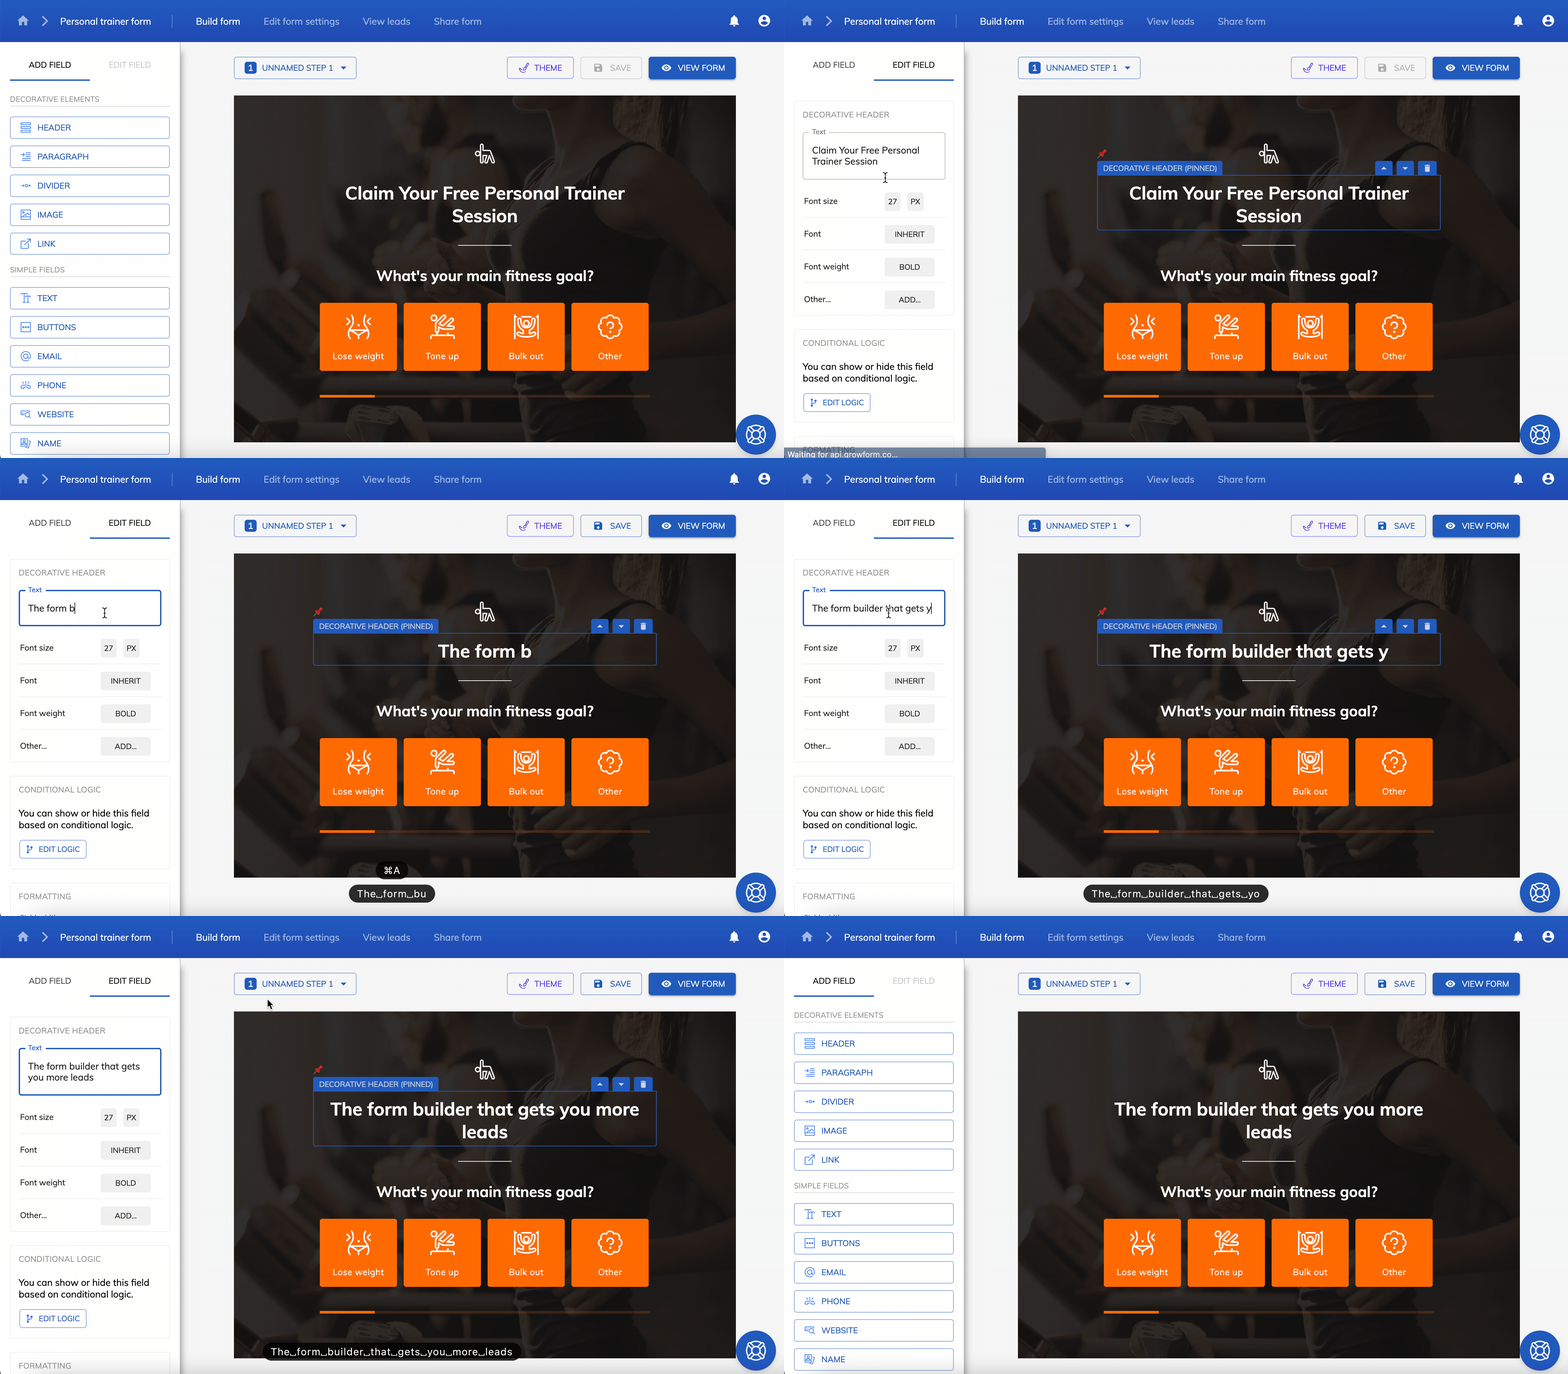
That’s where Growform comes in. Growform is a powerful form builder that fits perfectly into Unbounce, allowing you to build beautiful forms quickly and easily.
With Growform, you can create multi-step forms, implement powerful conditional logic, and more – all without any coding knowledge:

And with over 300 integrations via Zapier, you can send your leads anywhere, whether it’s to your CRM system, email marketing platform, or custom application. Of course, Growform supports webhooks too.
Start building better forms today with free 14 day free trial.
Recent Posts
- 6 Essential Mobile Form Design Best Practices for Higher Conversions
- We Review the Best B2B Lead Generation Tools to Supercharge Your Campaigns
- Typeform Pricing: Uncover Hidden Costs & a Better Alternative
- How to Optimize B2B Lead Scoring for Faster Sales Closures
- Here Are the Best Google Forms Alternatives for More Efficient Data Collection
